With title tag data available via our API — as well as in a handy STAT report — you can get your mitts on this essential insight even more easily.
Several months back, Google announced an update to how it generates web page titles. With that change, the content of your <title> tags are no longer guaranteed to display in the search results. Instead, Google may rewrite title tags based on other content from the page in question.
Our very own Dr. Pete Meyers has conducted a few case studies to understand the impact of these title tag rewrites on the SERPs, and the results are pretty astonishing! Be sure to check out his research here.
As the impact of this Google update became clearer, we recognized the need for tracking title tag changes on the SERPs over time. We made title tag data available via our API and a report in STAT so you get your hands on this insight even more easily.
Ready to hear a bit more about how the report works and what insights you can glean from the data? Let’s go!
How to generate a Title Tag Tracking report
With the Title Tag Tracking report, you can track the title tags being displayed for your chosen keyword set, across a selected date range. A quick CSV export will allow you to distinguish changes to your title tags over time and discern where your intended titles are being used (and where they aren’t!).
Let’s get started by building your report. Visit the Reporting section, found under the Site Tools menu in the bottom left of the STAT app. Click on “Create Report,” and you’ll see the familiar report setup flow.
Step 1: Select the right report type
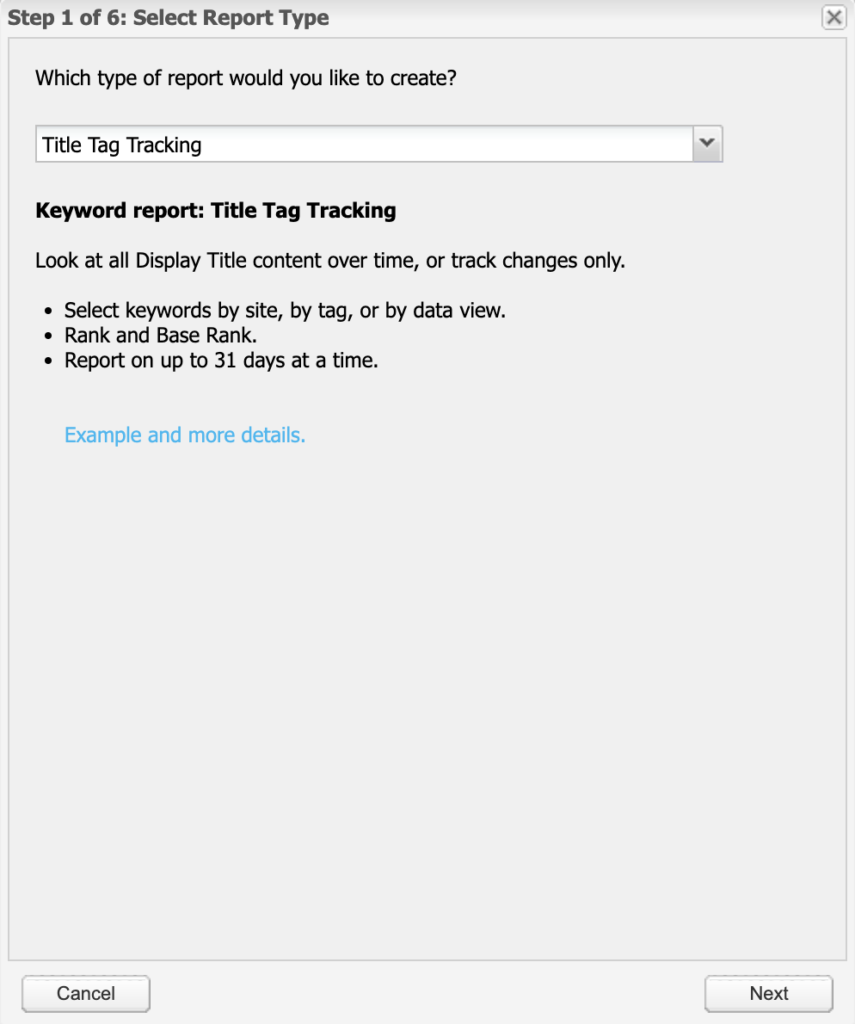
First, select “Title Tag Tracking” from the report type dropdown menu.
Step 2: Add in the basics
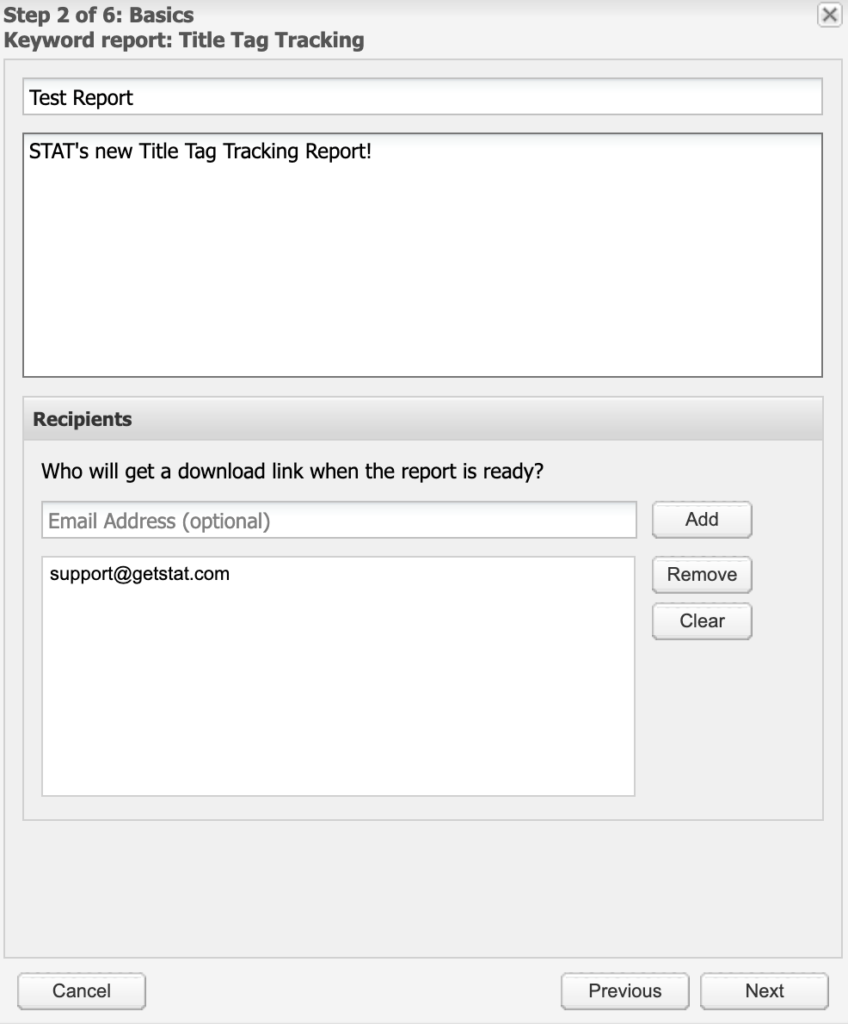
Next, name the report and input the intended recipients.
Step 3: Choose your sites & keywords
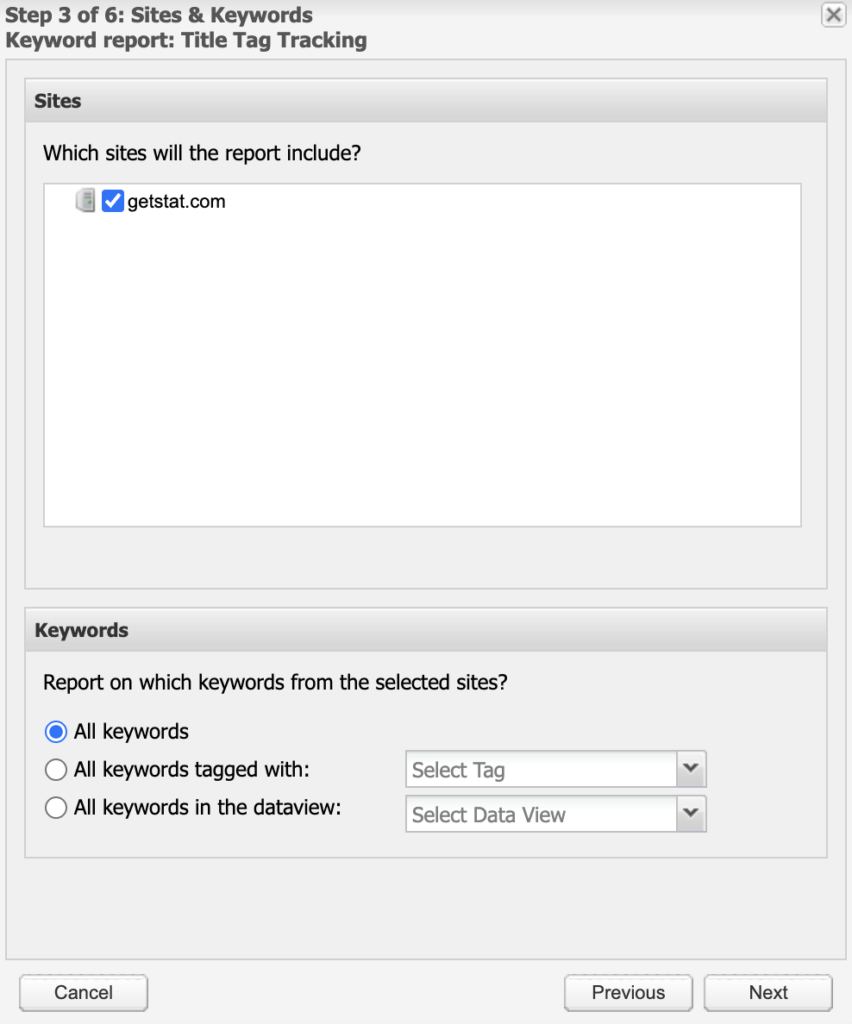
Select the site(s) and keyword set that you’d like the report to focus on.
Step 4: Pick a schedule & dates
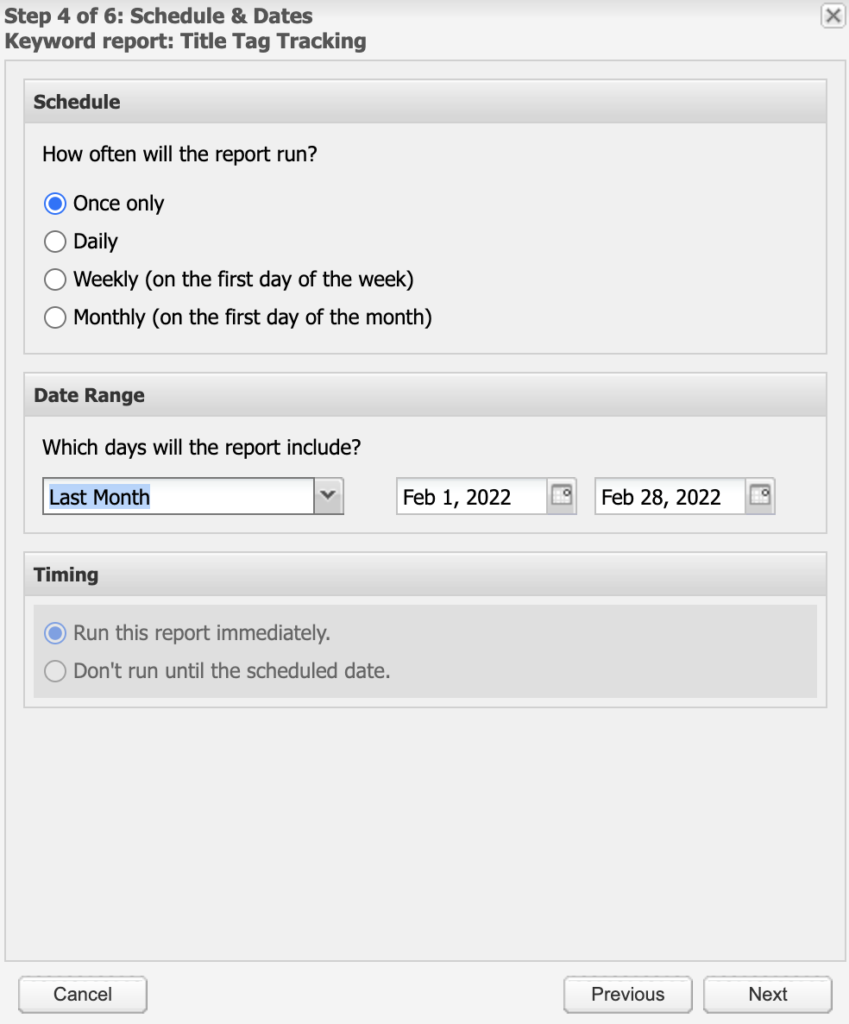
Then choose how often the report will run, as well as the date range for the data in the report.
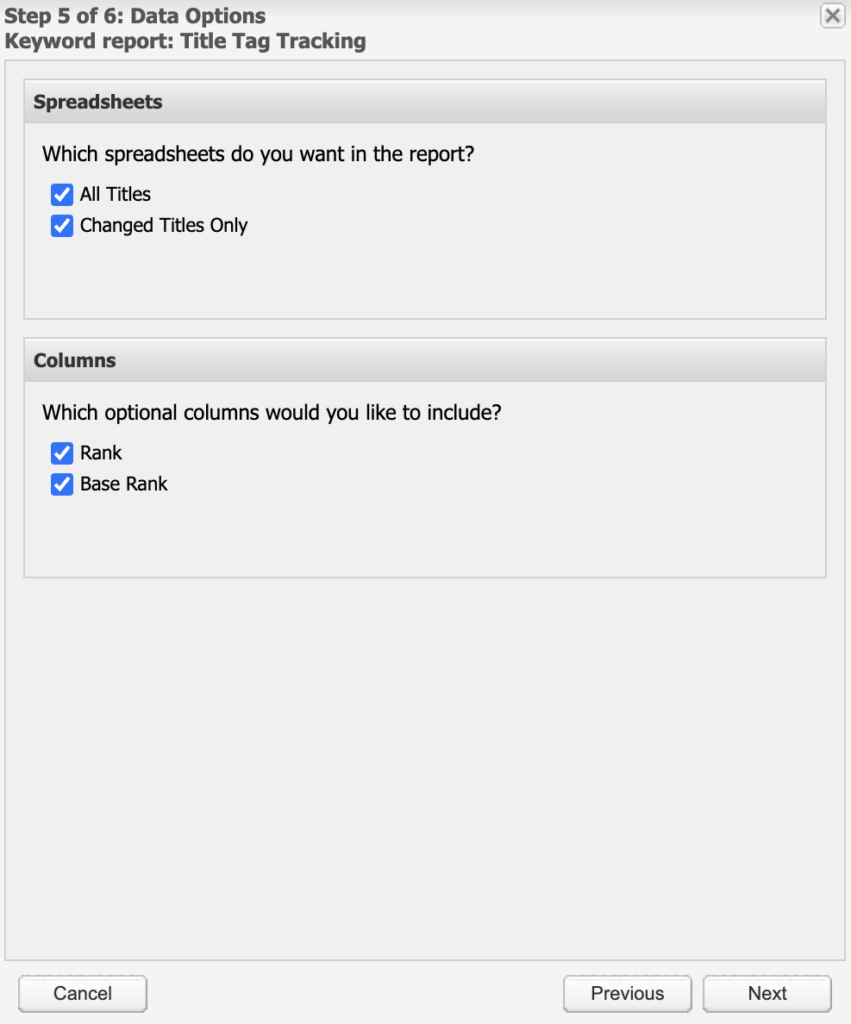
Step 5: Select your data options
First, choose whether you want to see all title tags or only titles that have changed from the day before. Next, you’ll select whether you’d like to include rank, base rank, or both.
Step 6: Make sure everything’s right
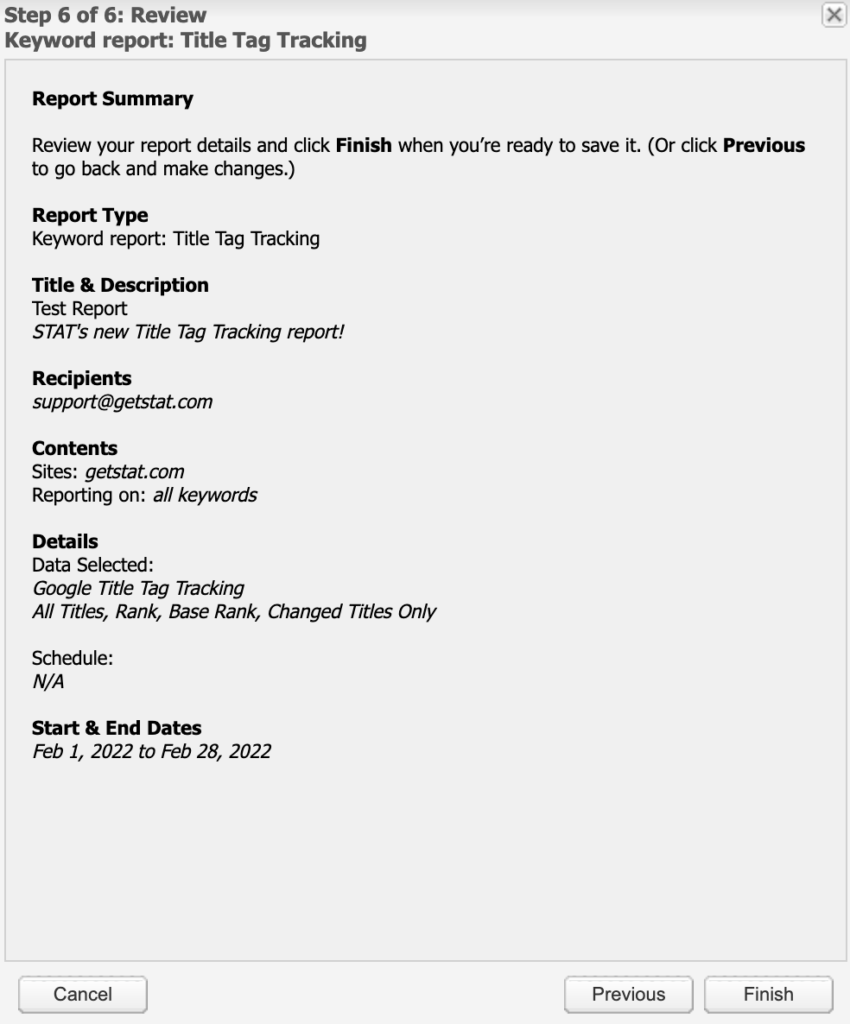
Finally, review your choices and generate your report. Easy peasy!
Digging into your Title Tag Tracking report
Now that you’ve generated your report, it’s time to dig in. In the CSV report, you’ll see columns highlighting keyword, market, location, device, date, rank, rase rank, display title, and URL.
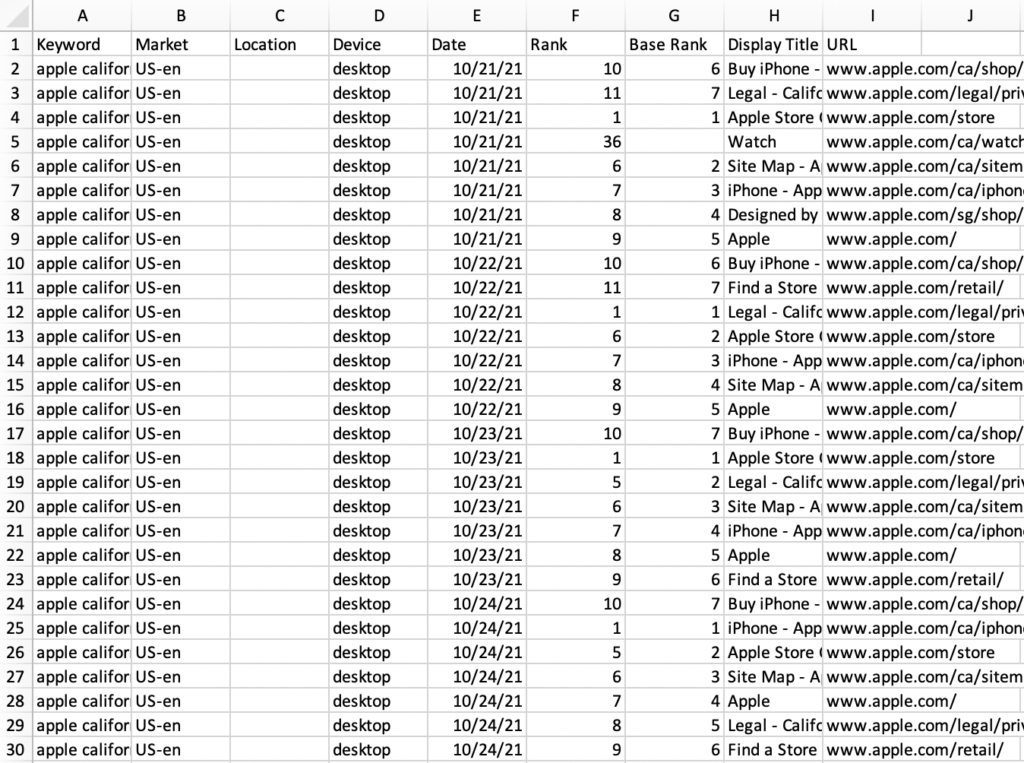
For each keyword and corresponding ranking URL, you’ll be able to view the title tag and compare it to other dates in your selected date range. Tracking your title tags and SERP presence can aid in understanding what content updates and on-page optimization may impact your presence.
If you selected to include “Changed Titles Only” when setting up the report, you’ll see only titles that have changed versus the day before. This can help to hone in on only the titles that are fluctuating in the SERPs at the time of the report pull. If you selected “All Titles,” you’ll note all of them, regardless of whether they’ve changed from the day prior.
We know you love to slice and dice your data, so the rest is up to you! The world is your oyster with all of these tracked title tags. We look forward to hearing more about how you use it and how the report impacts the on-page work you do.
Excited to get started with the Title Tag Tracking report? Dig into additional documentation here in our knowledge base.
If you’re not yet using STAT but want to learn more about scaling your keyword and SERP tracking, we’d love to show you around! Take a tour of the product with us.

